Stages
Stages define the workflow steps your tasks move through. Each stage represents a phase in your development process — from backlog to done.
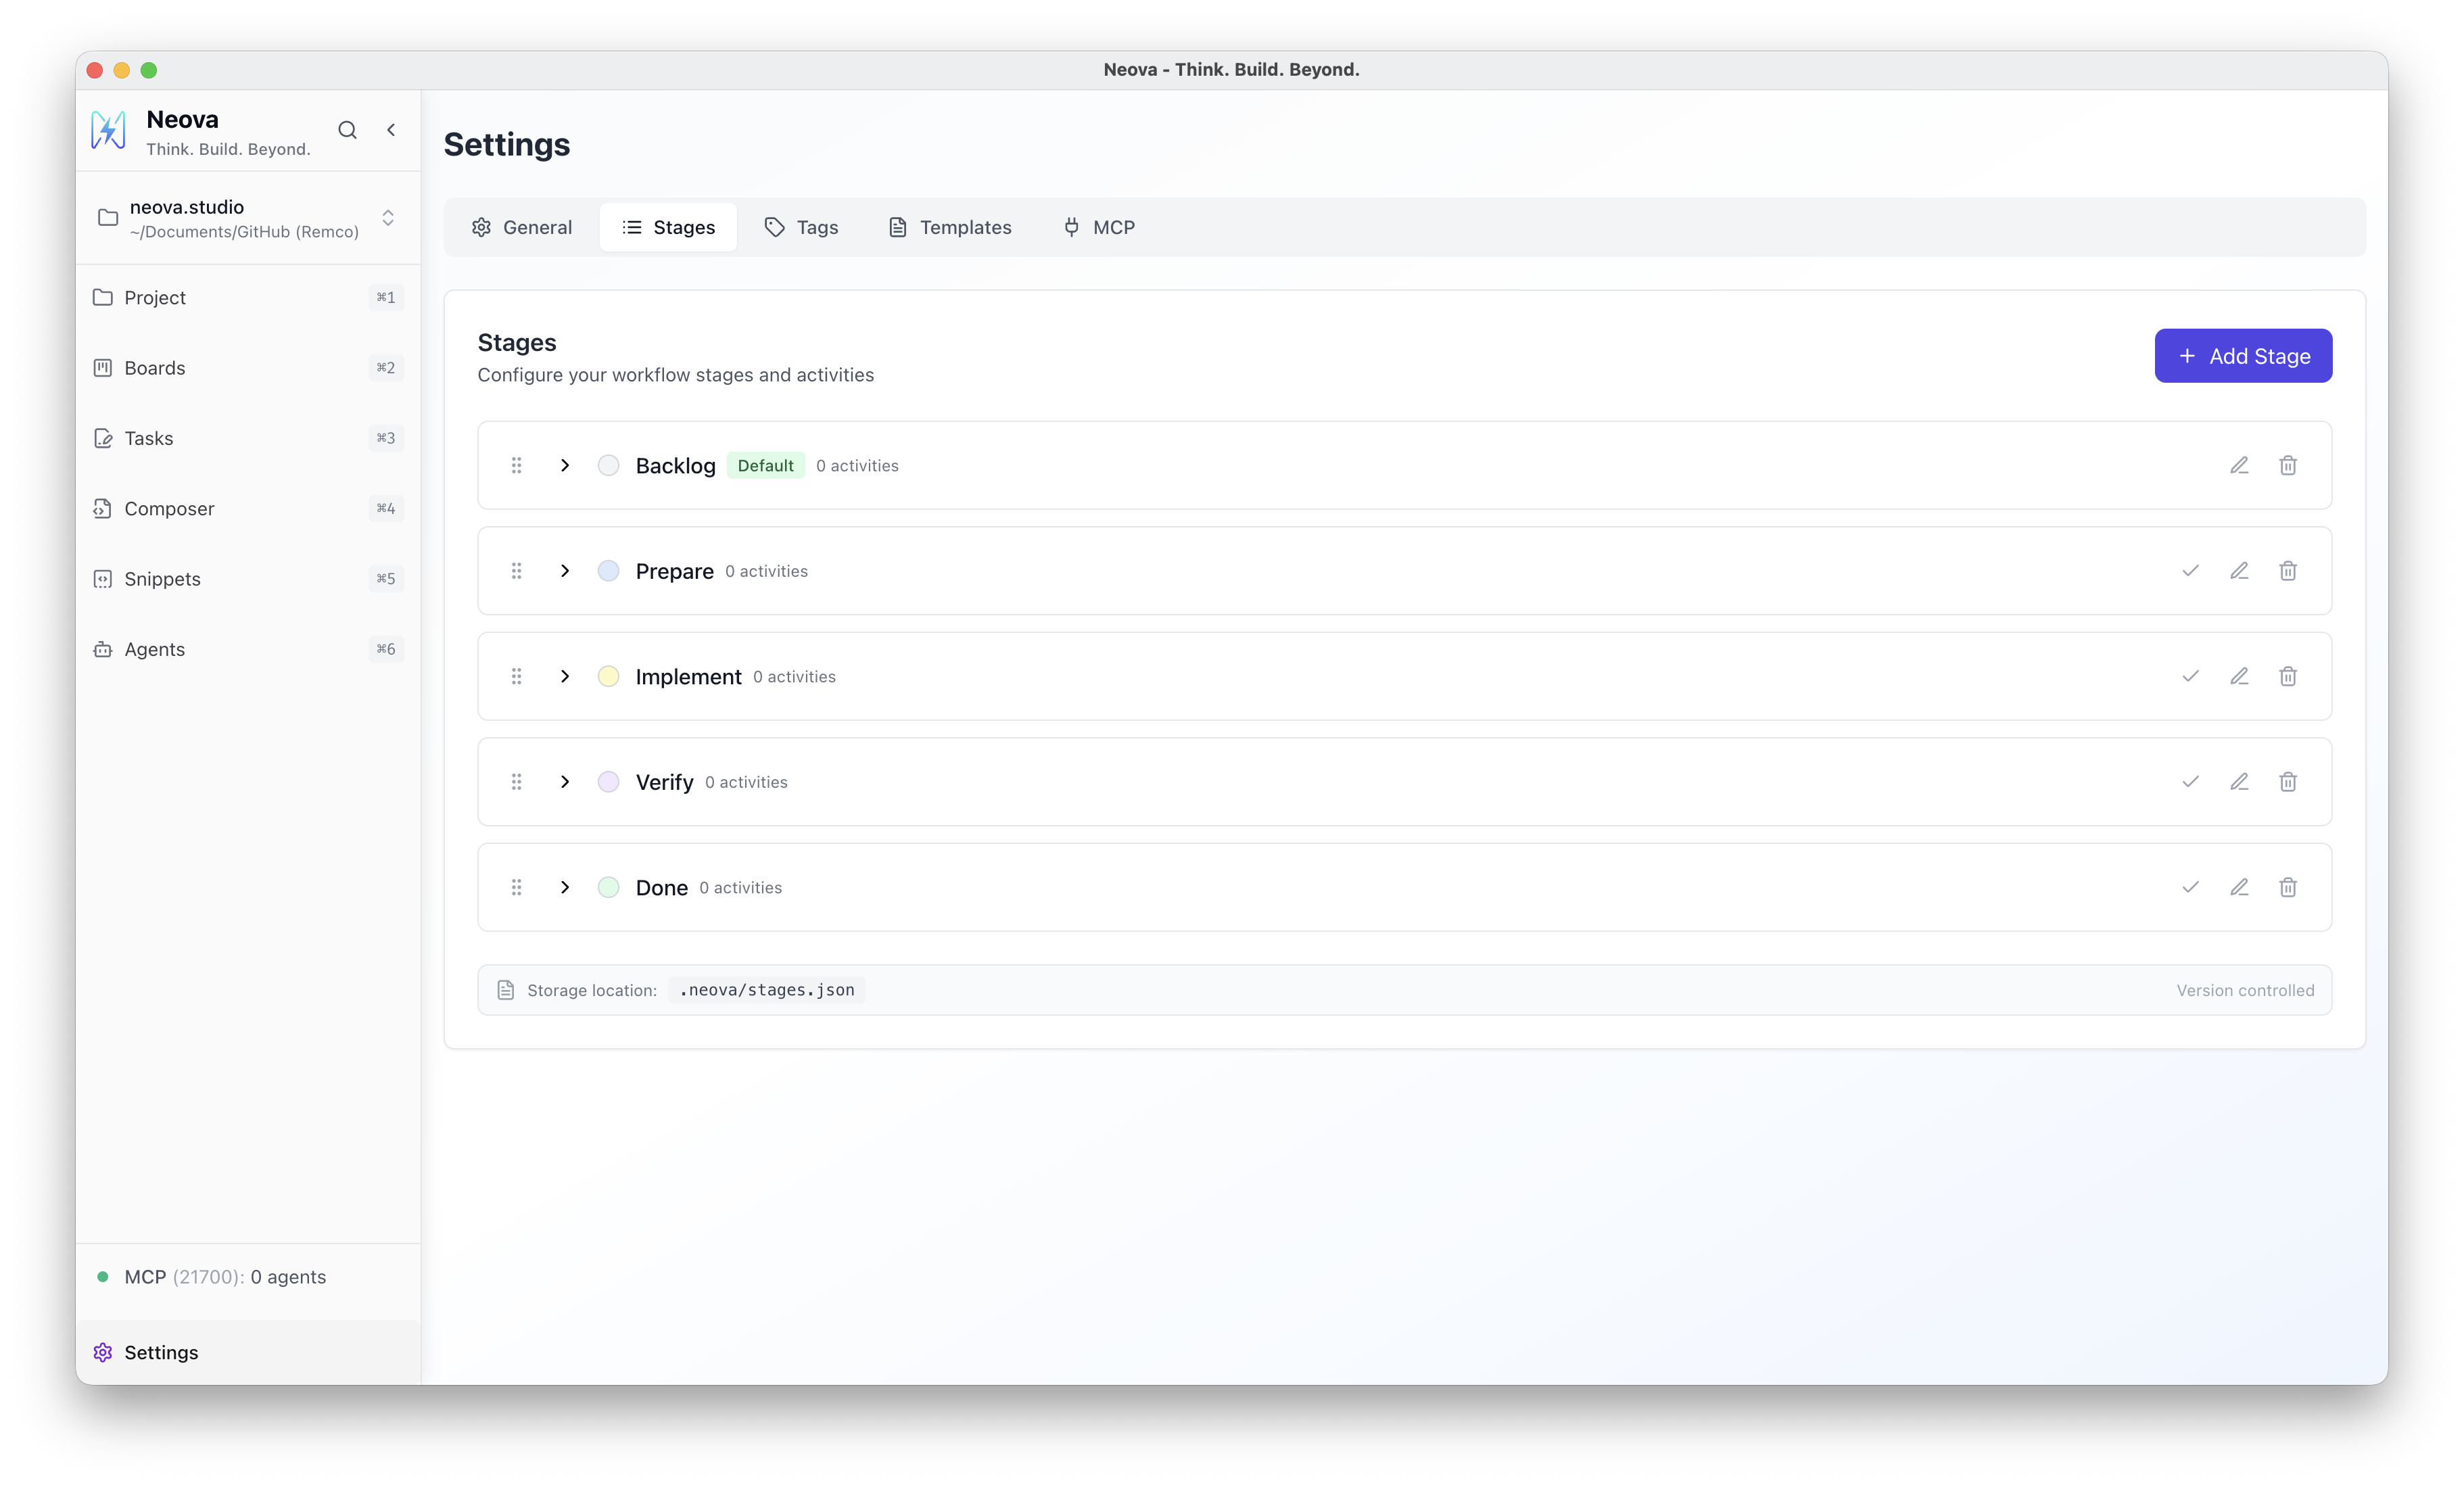
Stages are configured in Settings → Stages and stored in .neova/stages.json.
Configuring Stages
Section titled “Configuring Stages”Go to Settings → Stages to:
- Add, rename, or delete stages
- Reorder stages by dragging
- Assign colors for visual distinction
- Set a default stage for new tasks
- Assign activities to each stage
Stage Fields
Section titled “Stage Fields”| Field | Description |
|---|---|
id | Unique identifier for the stage. |
name | Display name shown on the board and in dropdowns. |
color | Visual styling for the stage. |
order | Position in the workflow (0 = first). |
isDefault | If true, new tasks are created in this stage. |
activities | Array of activities assigned to this stage. |
Default Stage
Section titled “Default Stage”One stage can be marked as the default. When you create a new task, it automatically appears in the default stage.
Activities
Section titled “Activities”Each stage can have multiple activities assigned. Activities are prompt templates that appear as action buttons on tasks when they’re in that stage.
Assigning Activities
Section titled “Assigning Activities”- Go to Settings → Stages
- Select a stage
- Click Add Activity
- Choose an activity template
Activities can be assigned to multiple stages. For example, a “Discuss” activity might be useful in both Prepare and Verify stages.
Example Workflow
Section titled “Example Workflow”A typical development workflow might include:
| Stage | Purpose | Example Activities |
|---|---|---|
| Backlog | Ideas and upcoming work | Research, Brainstorm |
| Prepare | Design and specification | Debug, Design, Write Specs |
| Implement | Active development | Implement |
| Verify | Testing and review | Test & Tweak, Commit |
| Done | Completed work | Summarize |
File Format
Section titled “File Format”Stages are stored in .neova/stages.json:
{ "stages": [ { "id": "backlog", "name": "Backlog", "color": "bg-gray-100 text-gray-700", "order": 0, "isDefault": true, "activities": [] }, { "id": "stage-789", "name": "Implement", "color": "bg-indigo-100 text-indigo-700", "order": 1, "isDefault": false, "activities": [] } ], "version": "1.1.0", "lastUpdated": "2026-02-13T19:47:23.313Z"}