Quick Start
Open Your Project Folder
Section titled “Open Your Project Folder”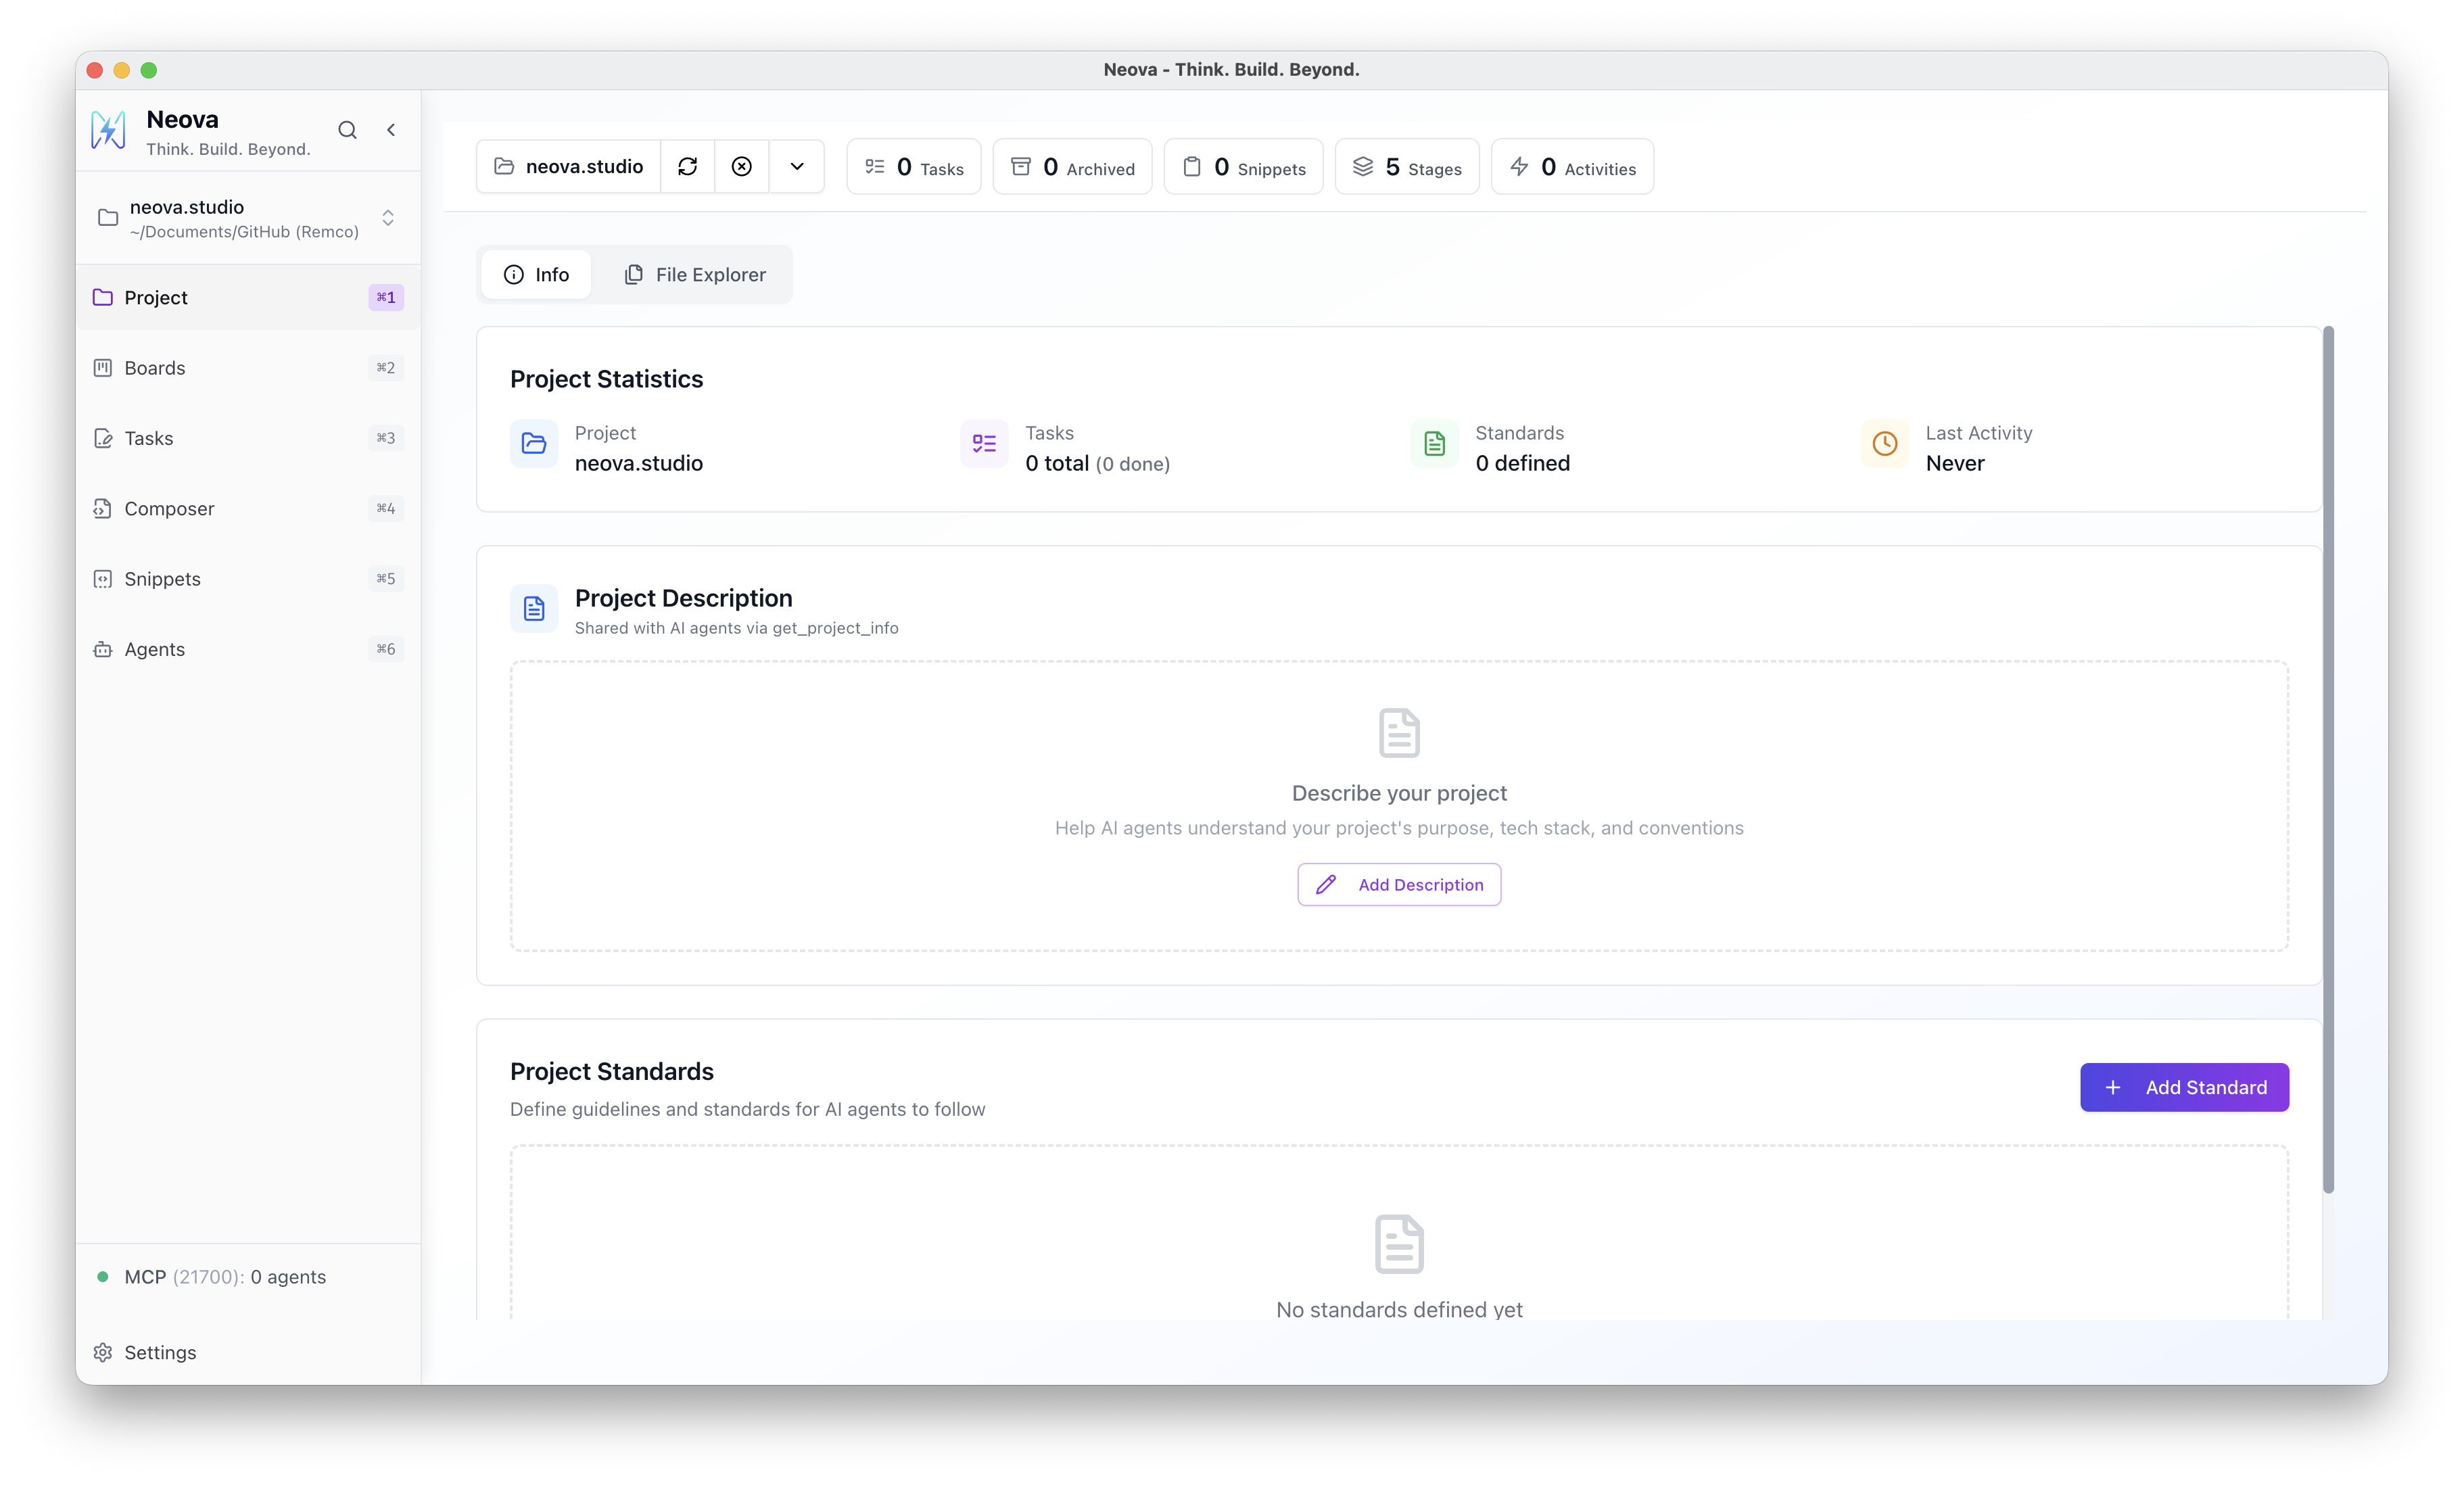
Launch Neova and open your project folder — the same folder your coding agent works in.
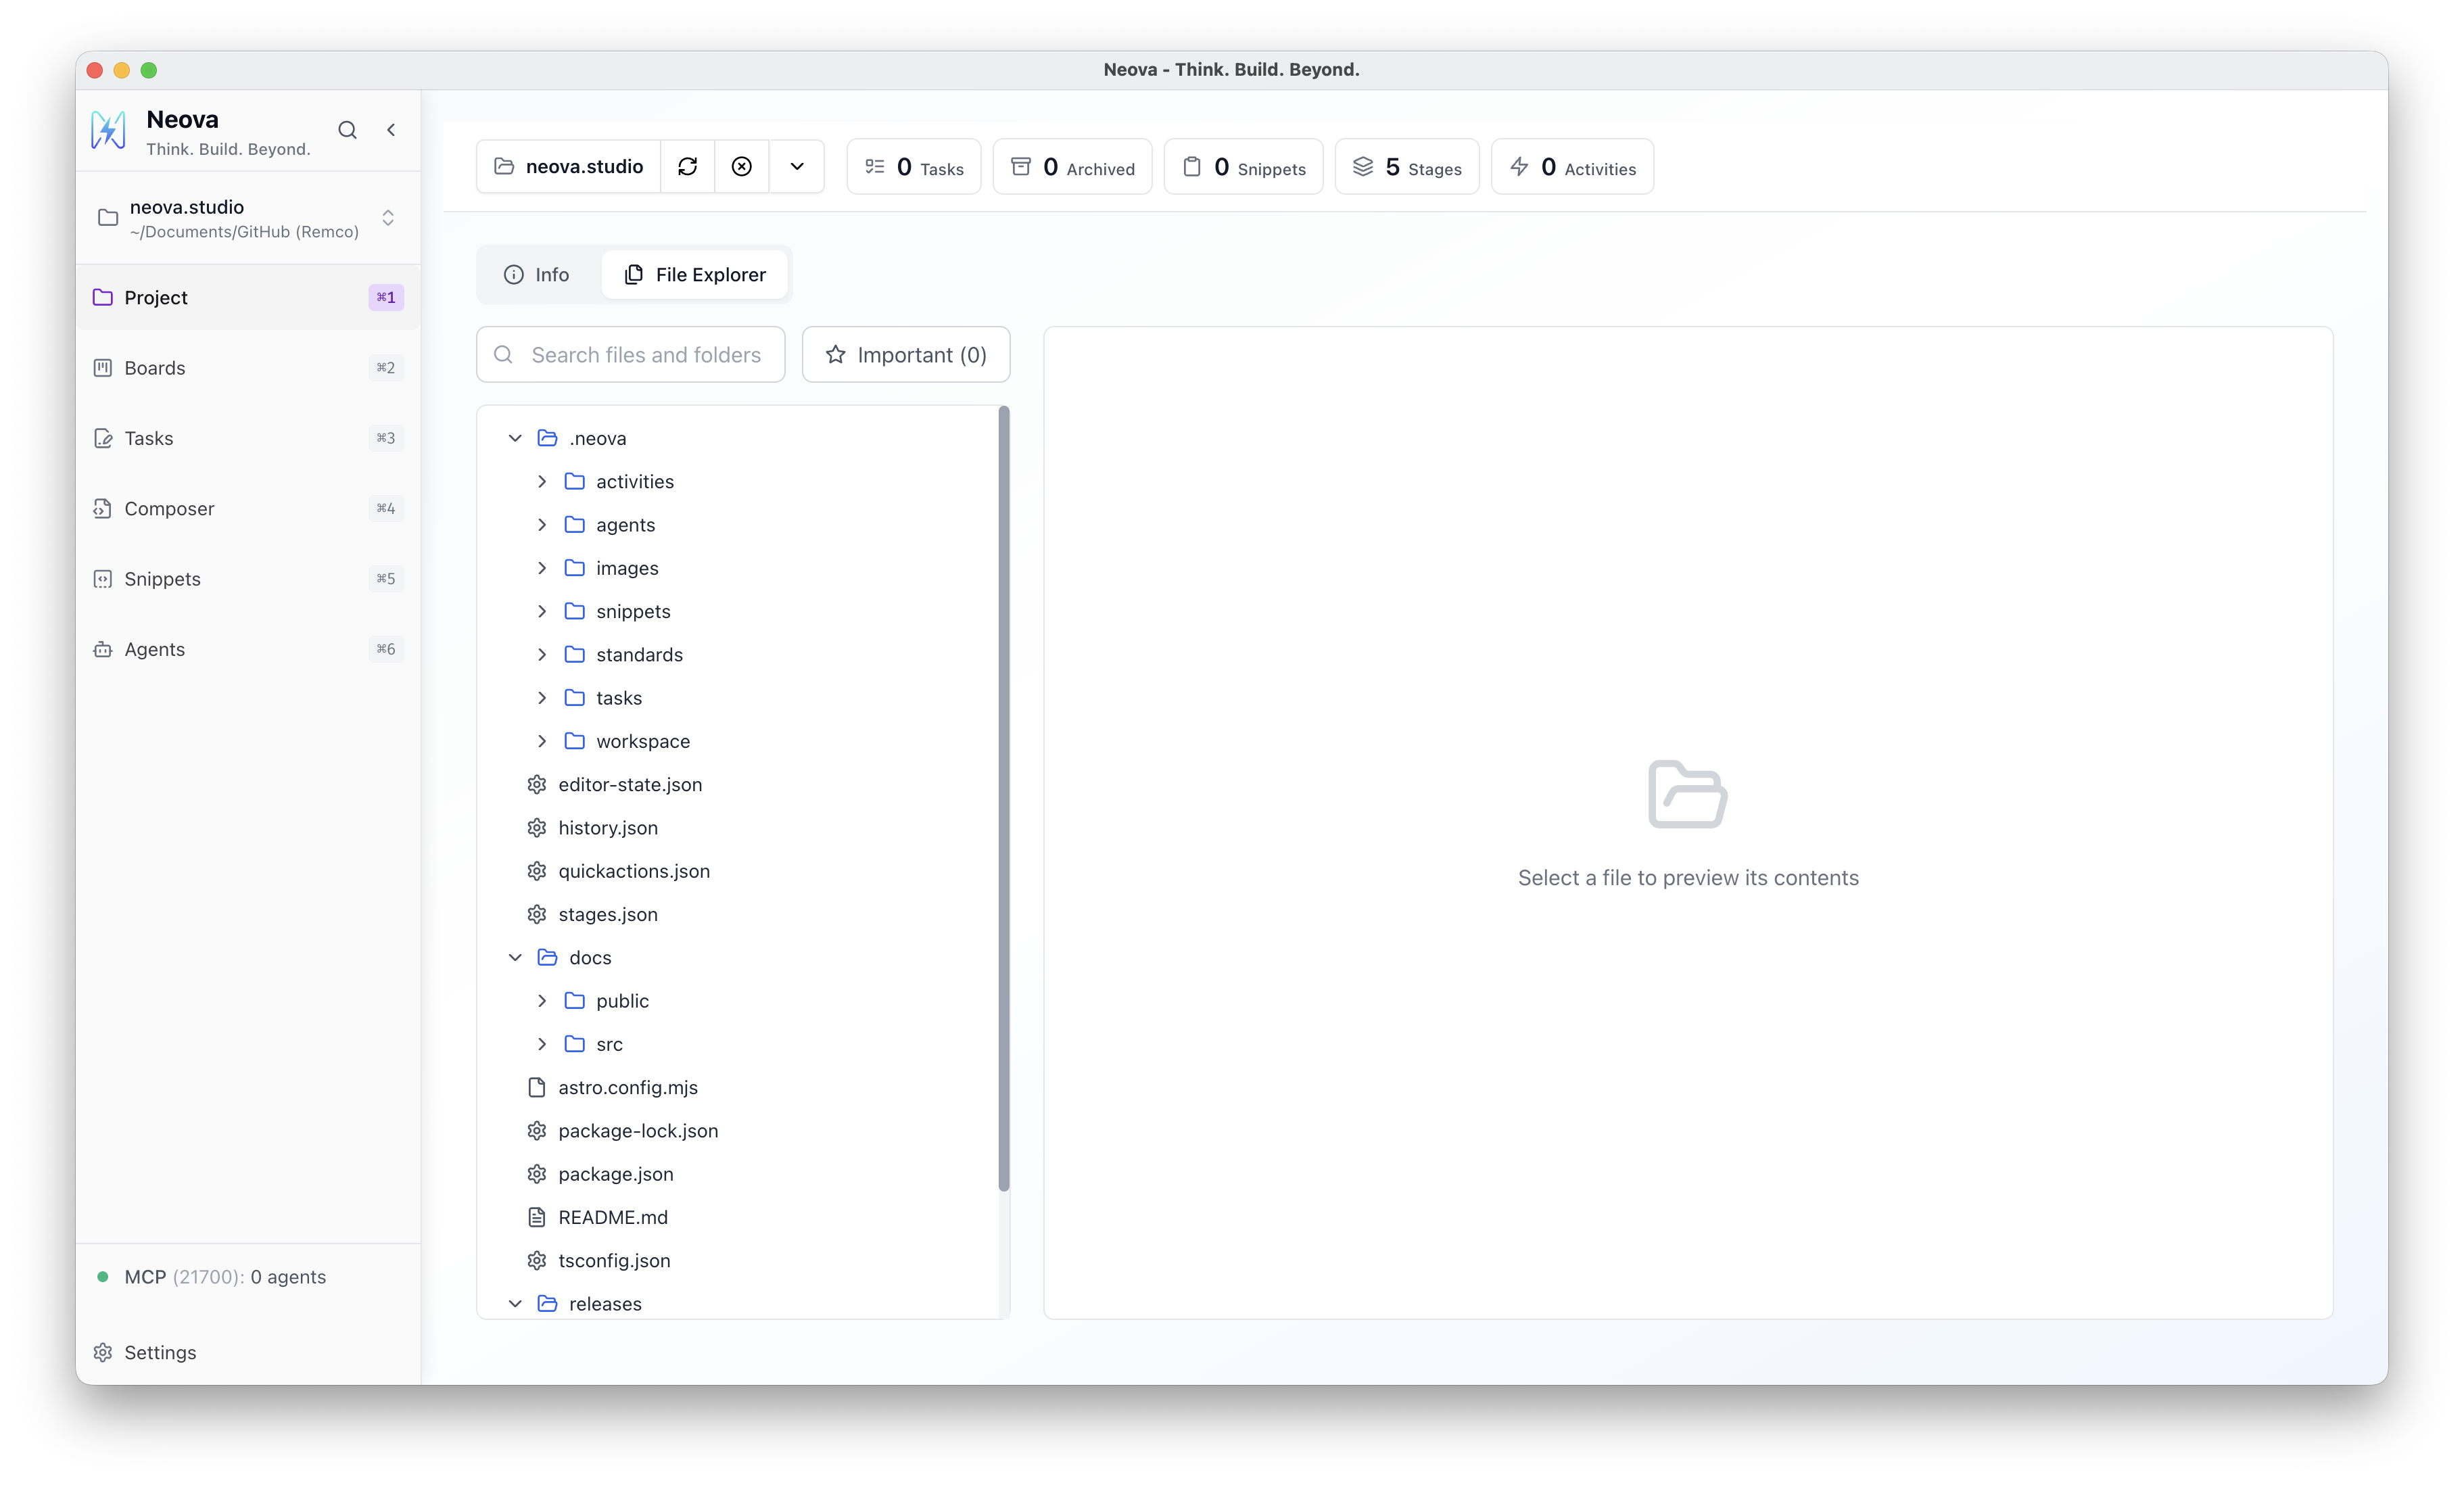
Neova creates a .neova/ folder inside your project. Everything stays local:
- Your data stays on your machine — no cloud, no sync, no external services
- Agents can access it — because it lives in the same folder they already work in
- Full version control — commit your tasks and templates alongside your code
Configure Your Stages
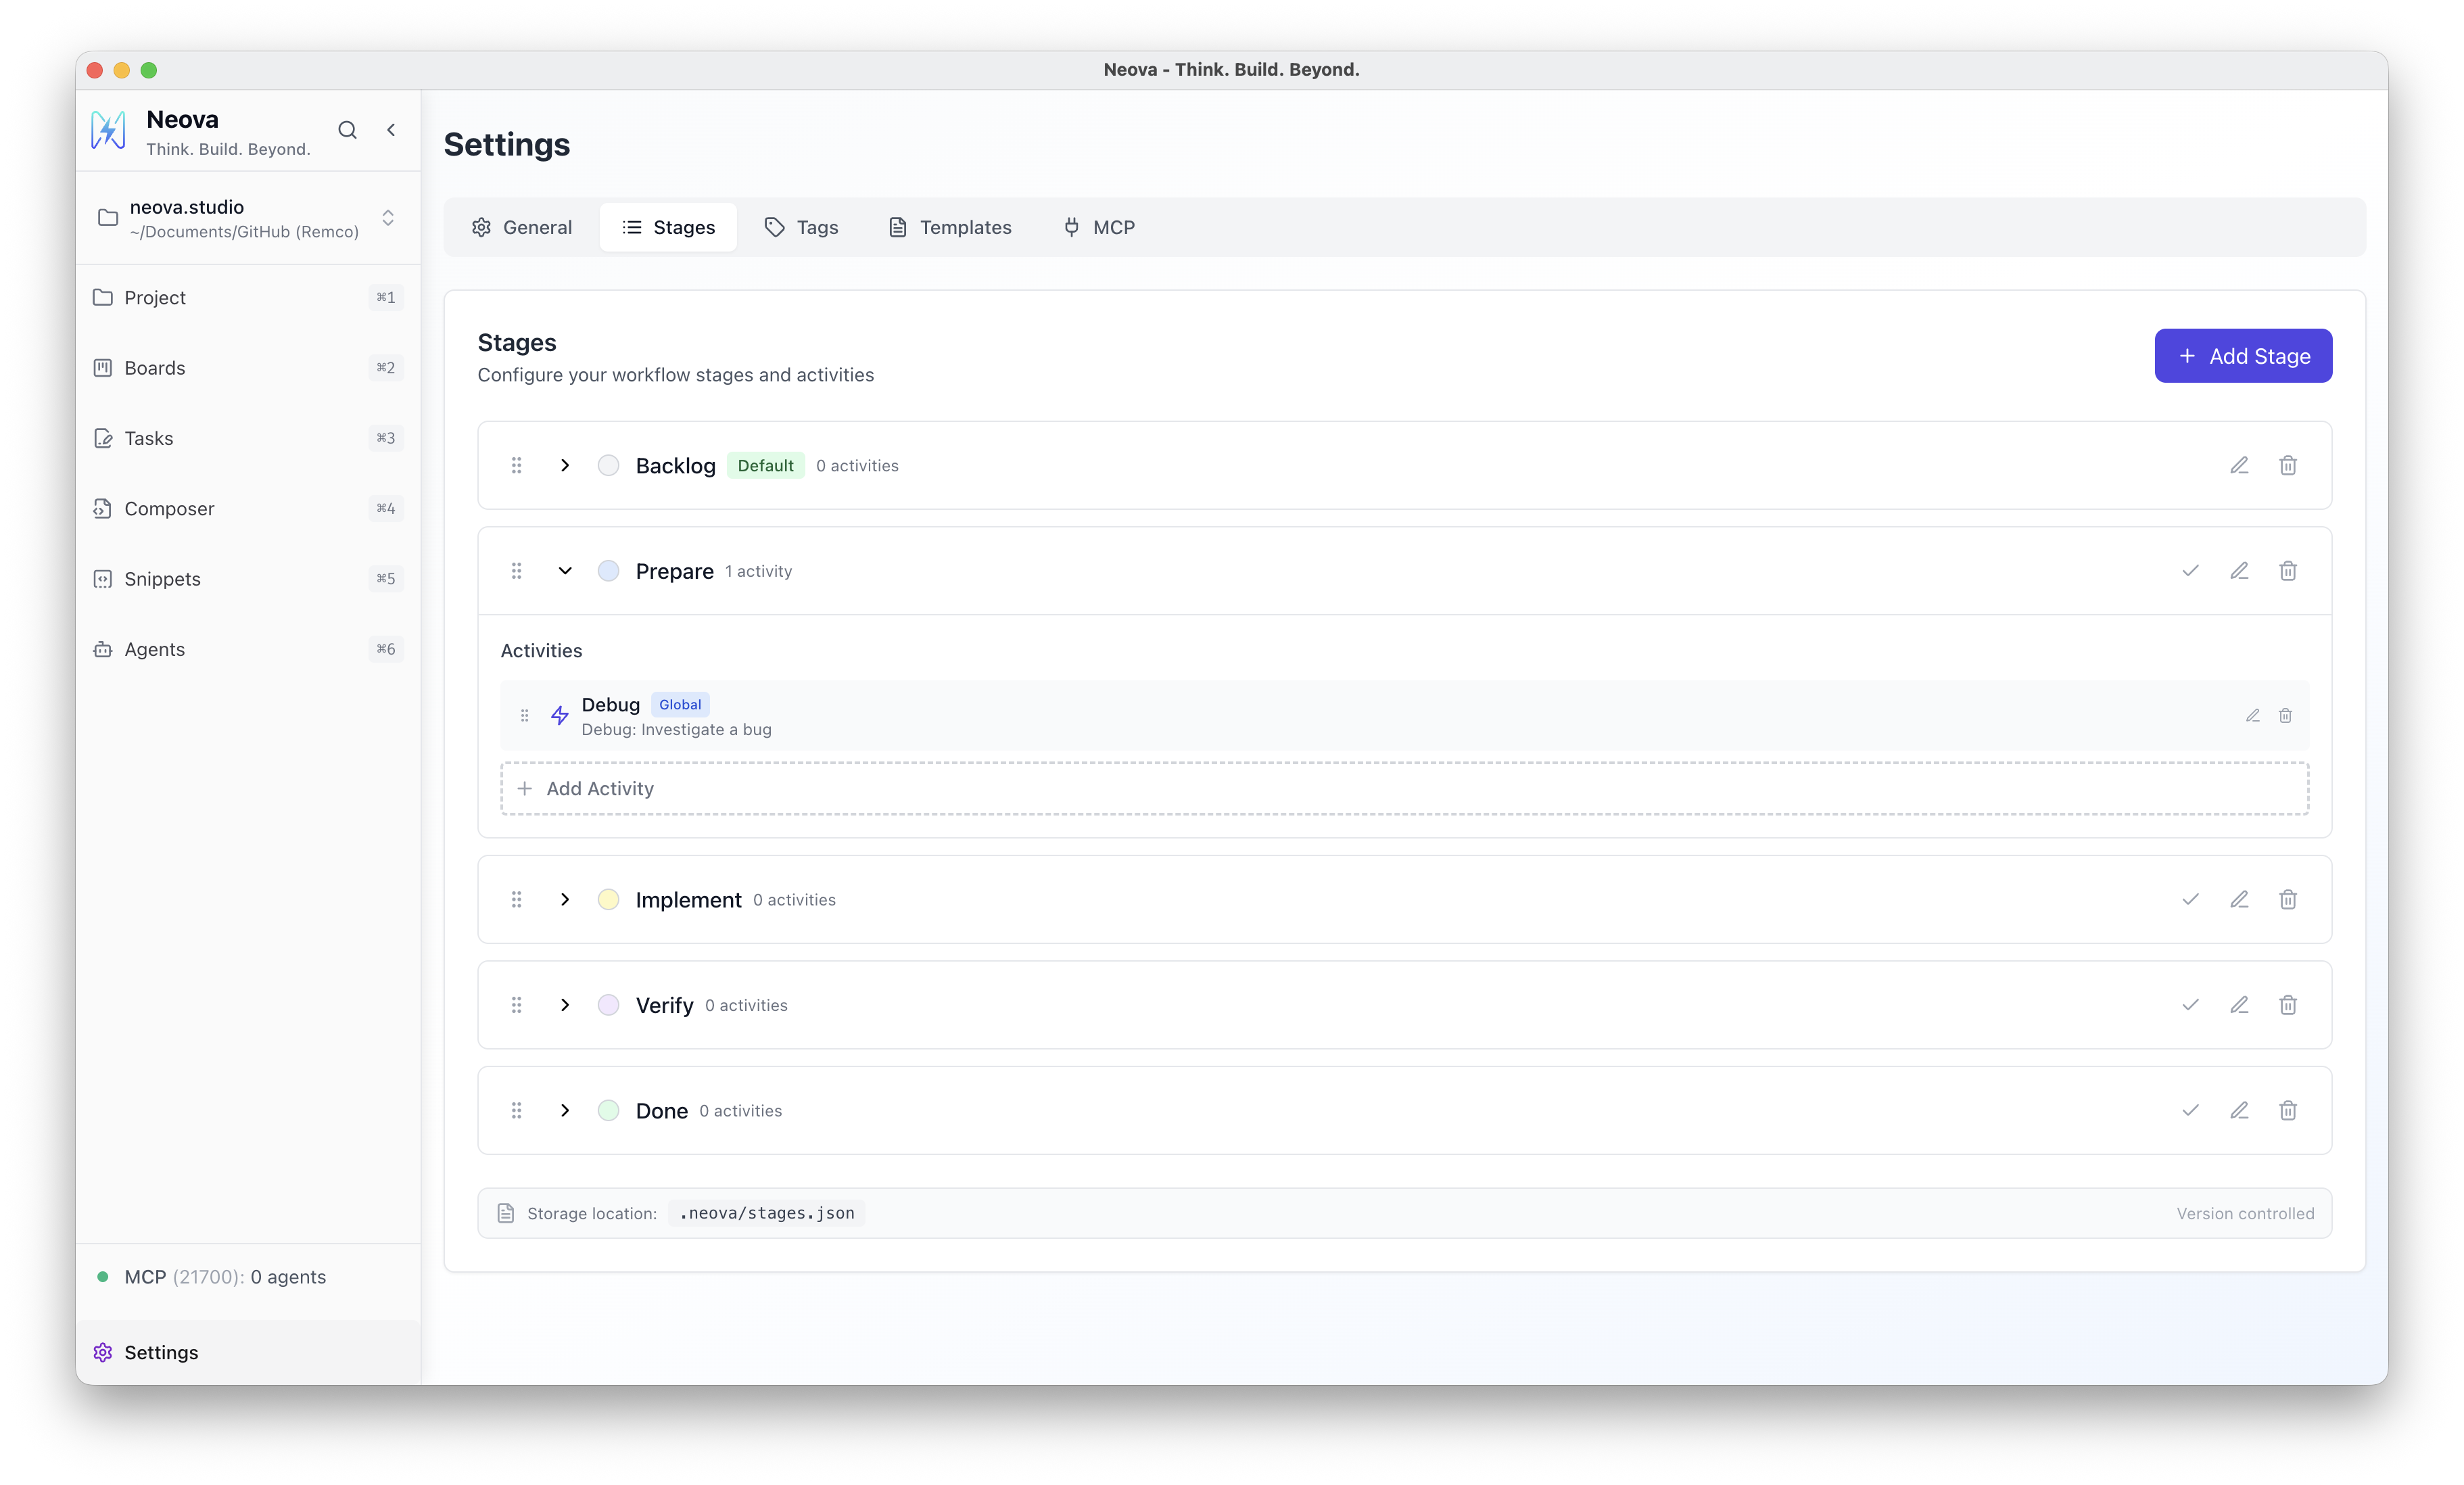
Section titled “Configure Your Stages”Stages define the steps your tasks move through. Think of them as columns on a kanban board.
- Go to Settings → Stages
- Add, remove, or reorder stages to match your workflow
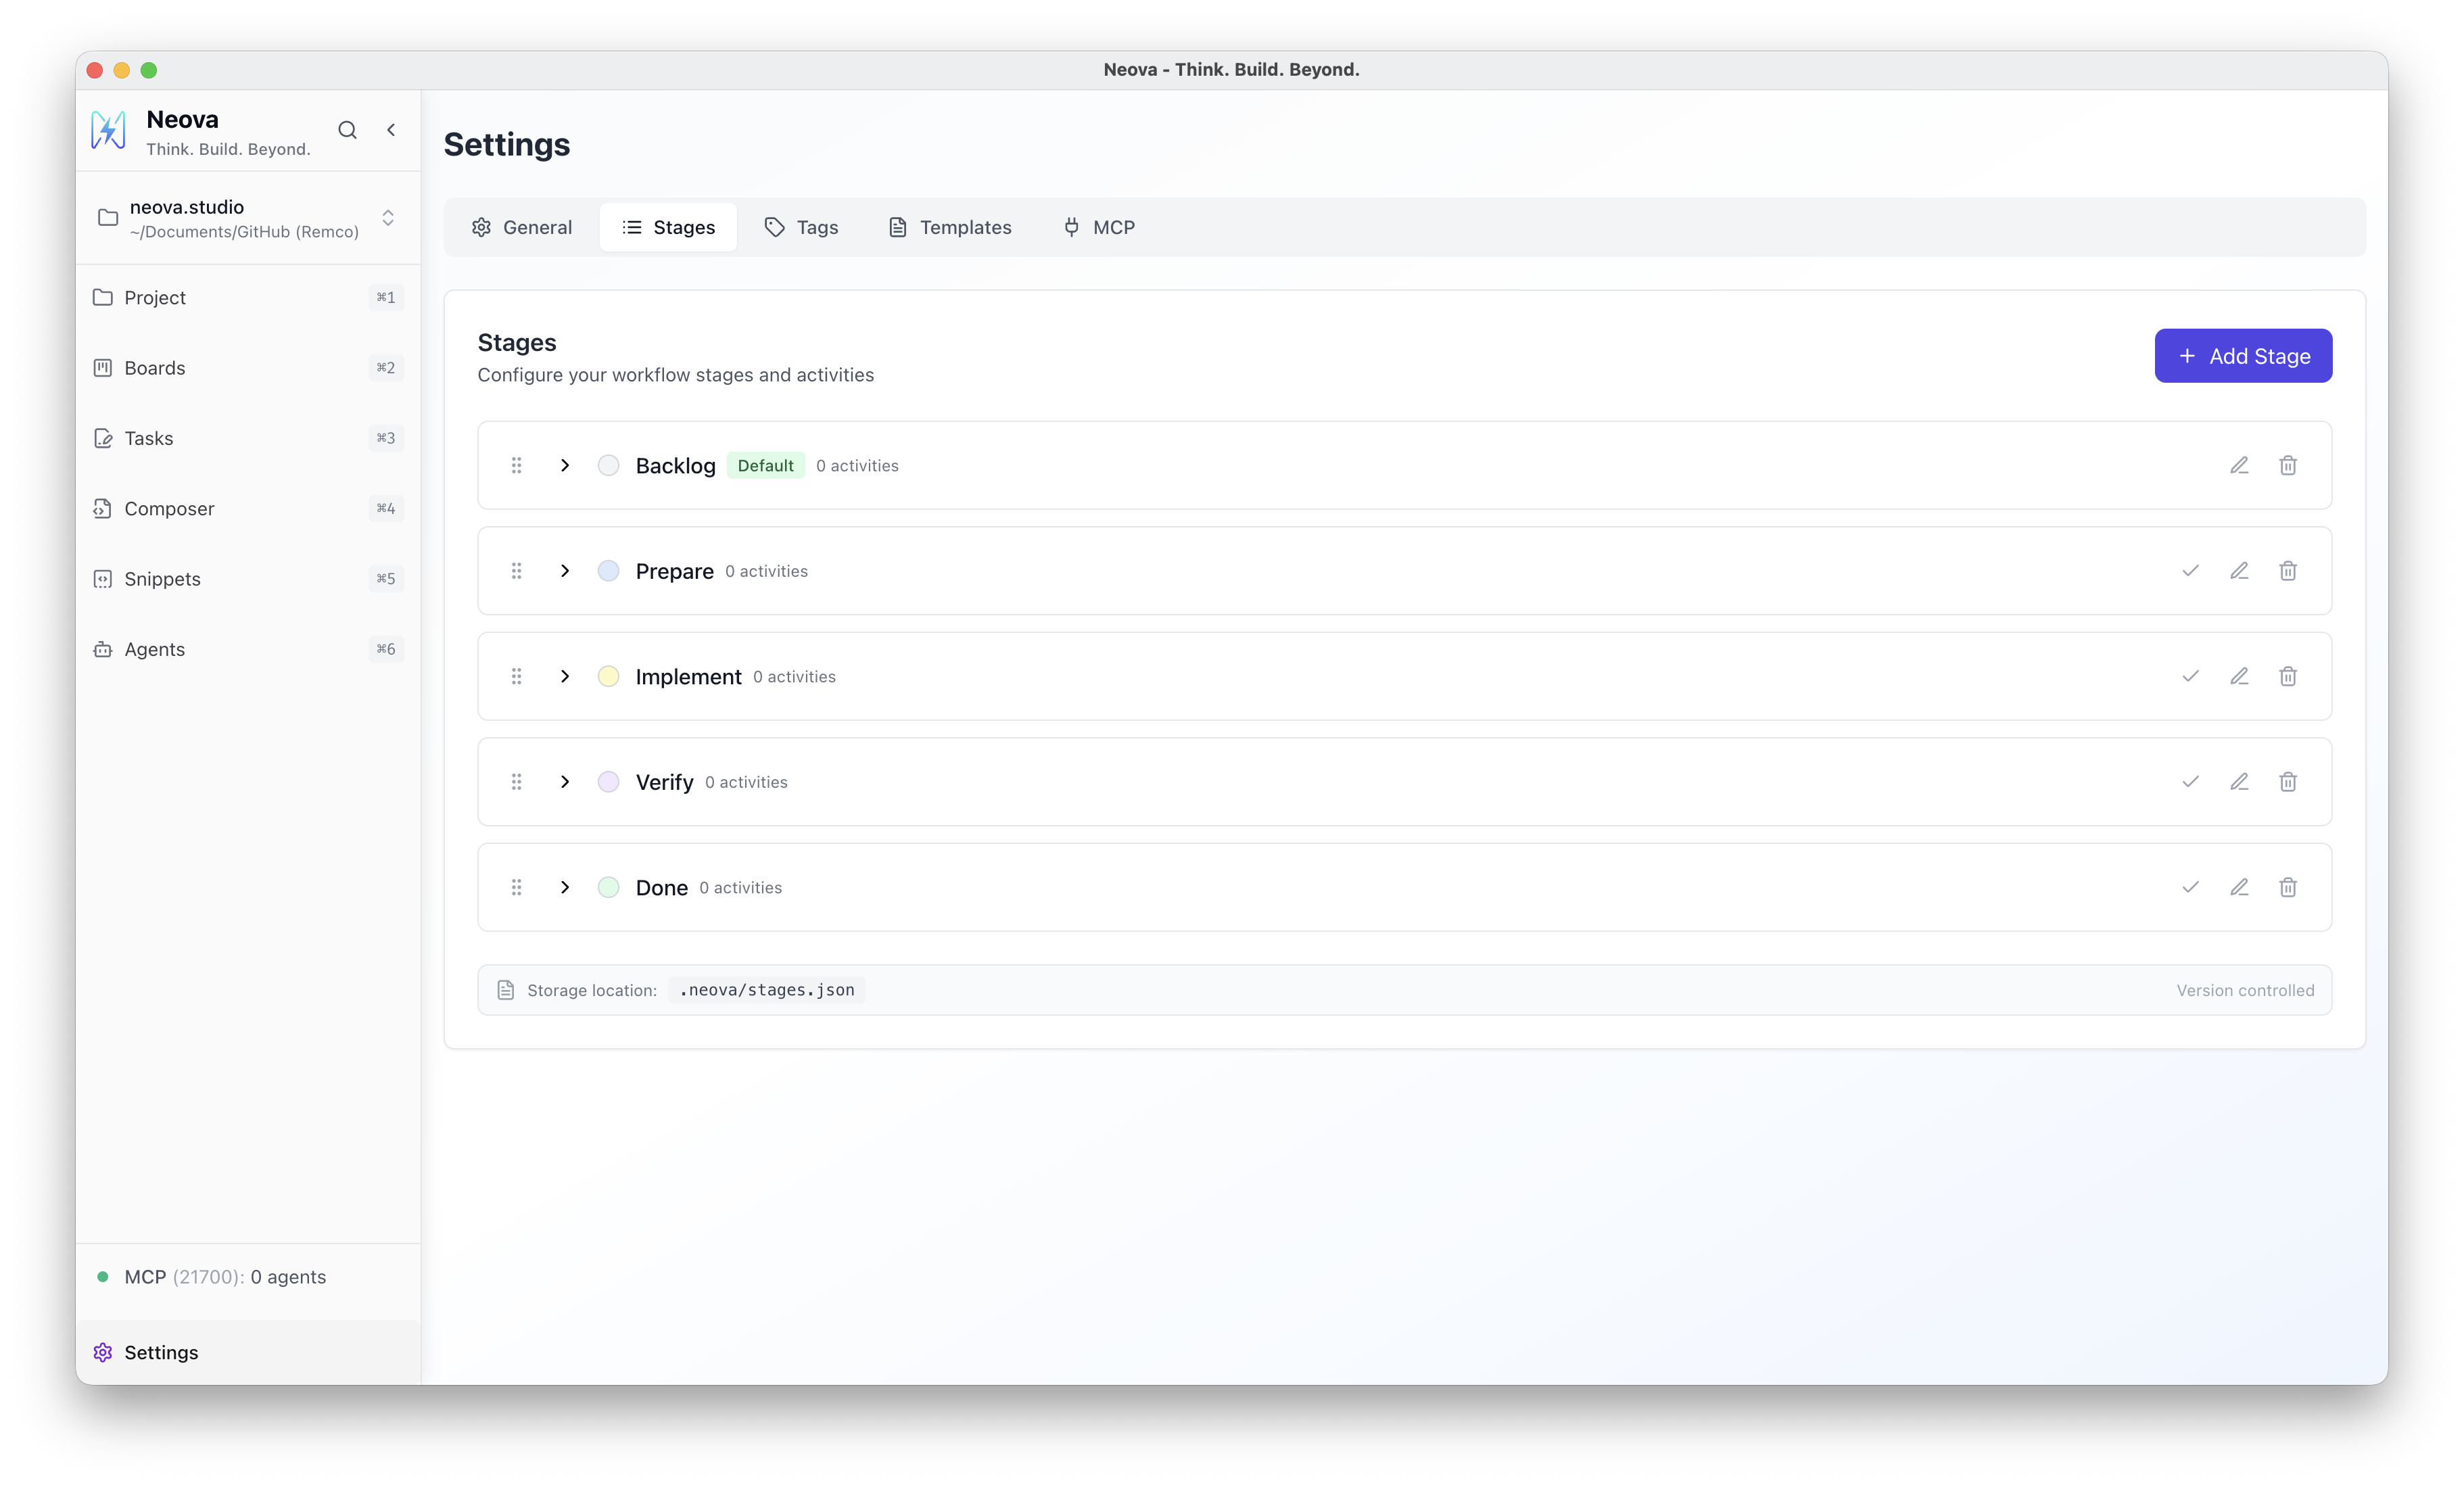
A typical setup might look like:
| Stage | Purpose |
|---|---|
| Backlog | Ideas and upcoming work |
| Prepare | Research, design, specifications |
| Implement | Active development |
| Verify | Testing and review |
| Done | Completed work |
Create Activities
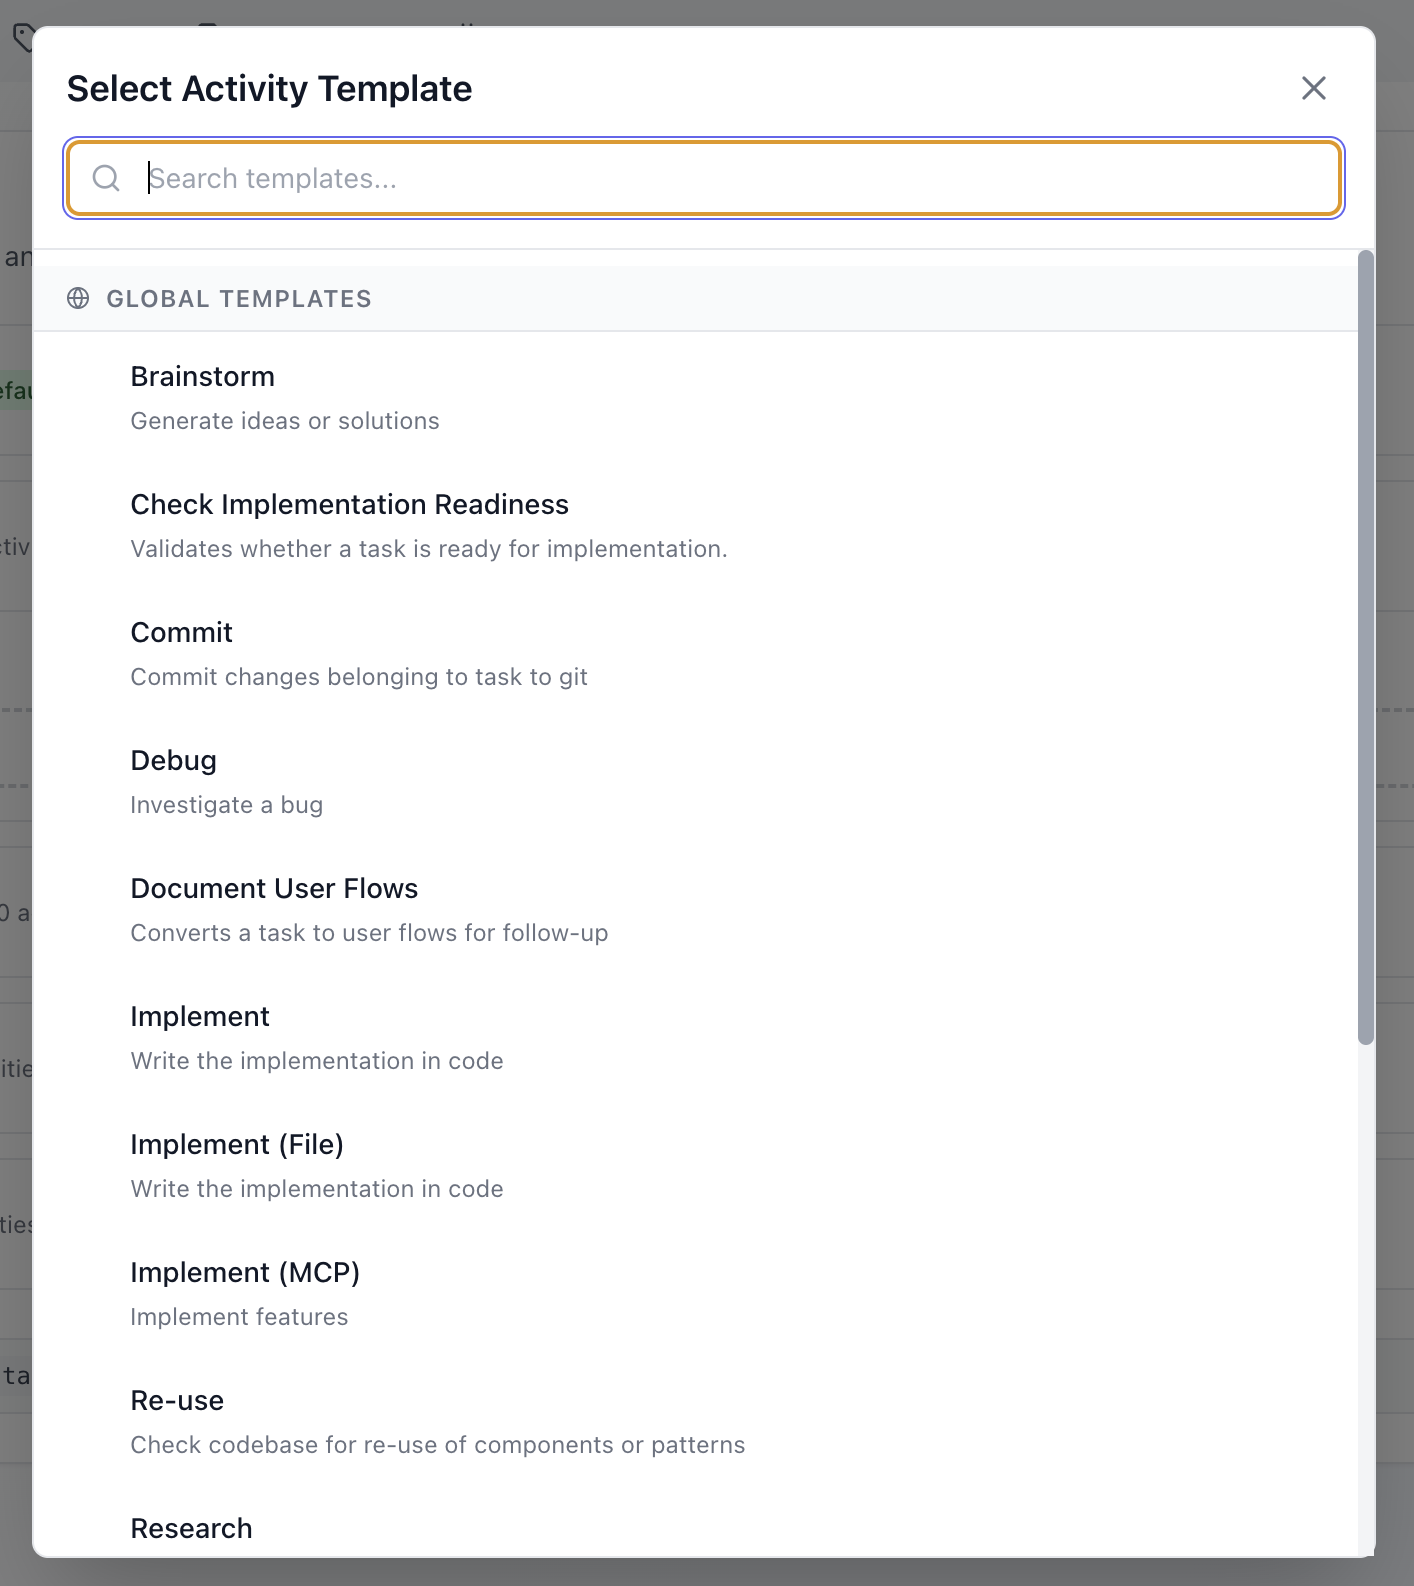
Section titled “Create Activities”Activities are structured prompt templates. You configure them once and reuse them every time you work on a task.
- Go to Settings → Activities
- Create a new activity or import an existing template
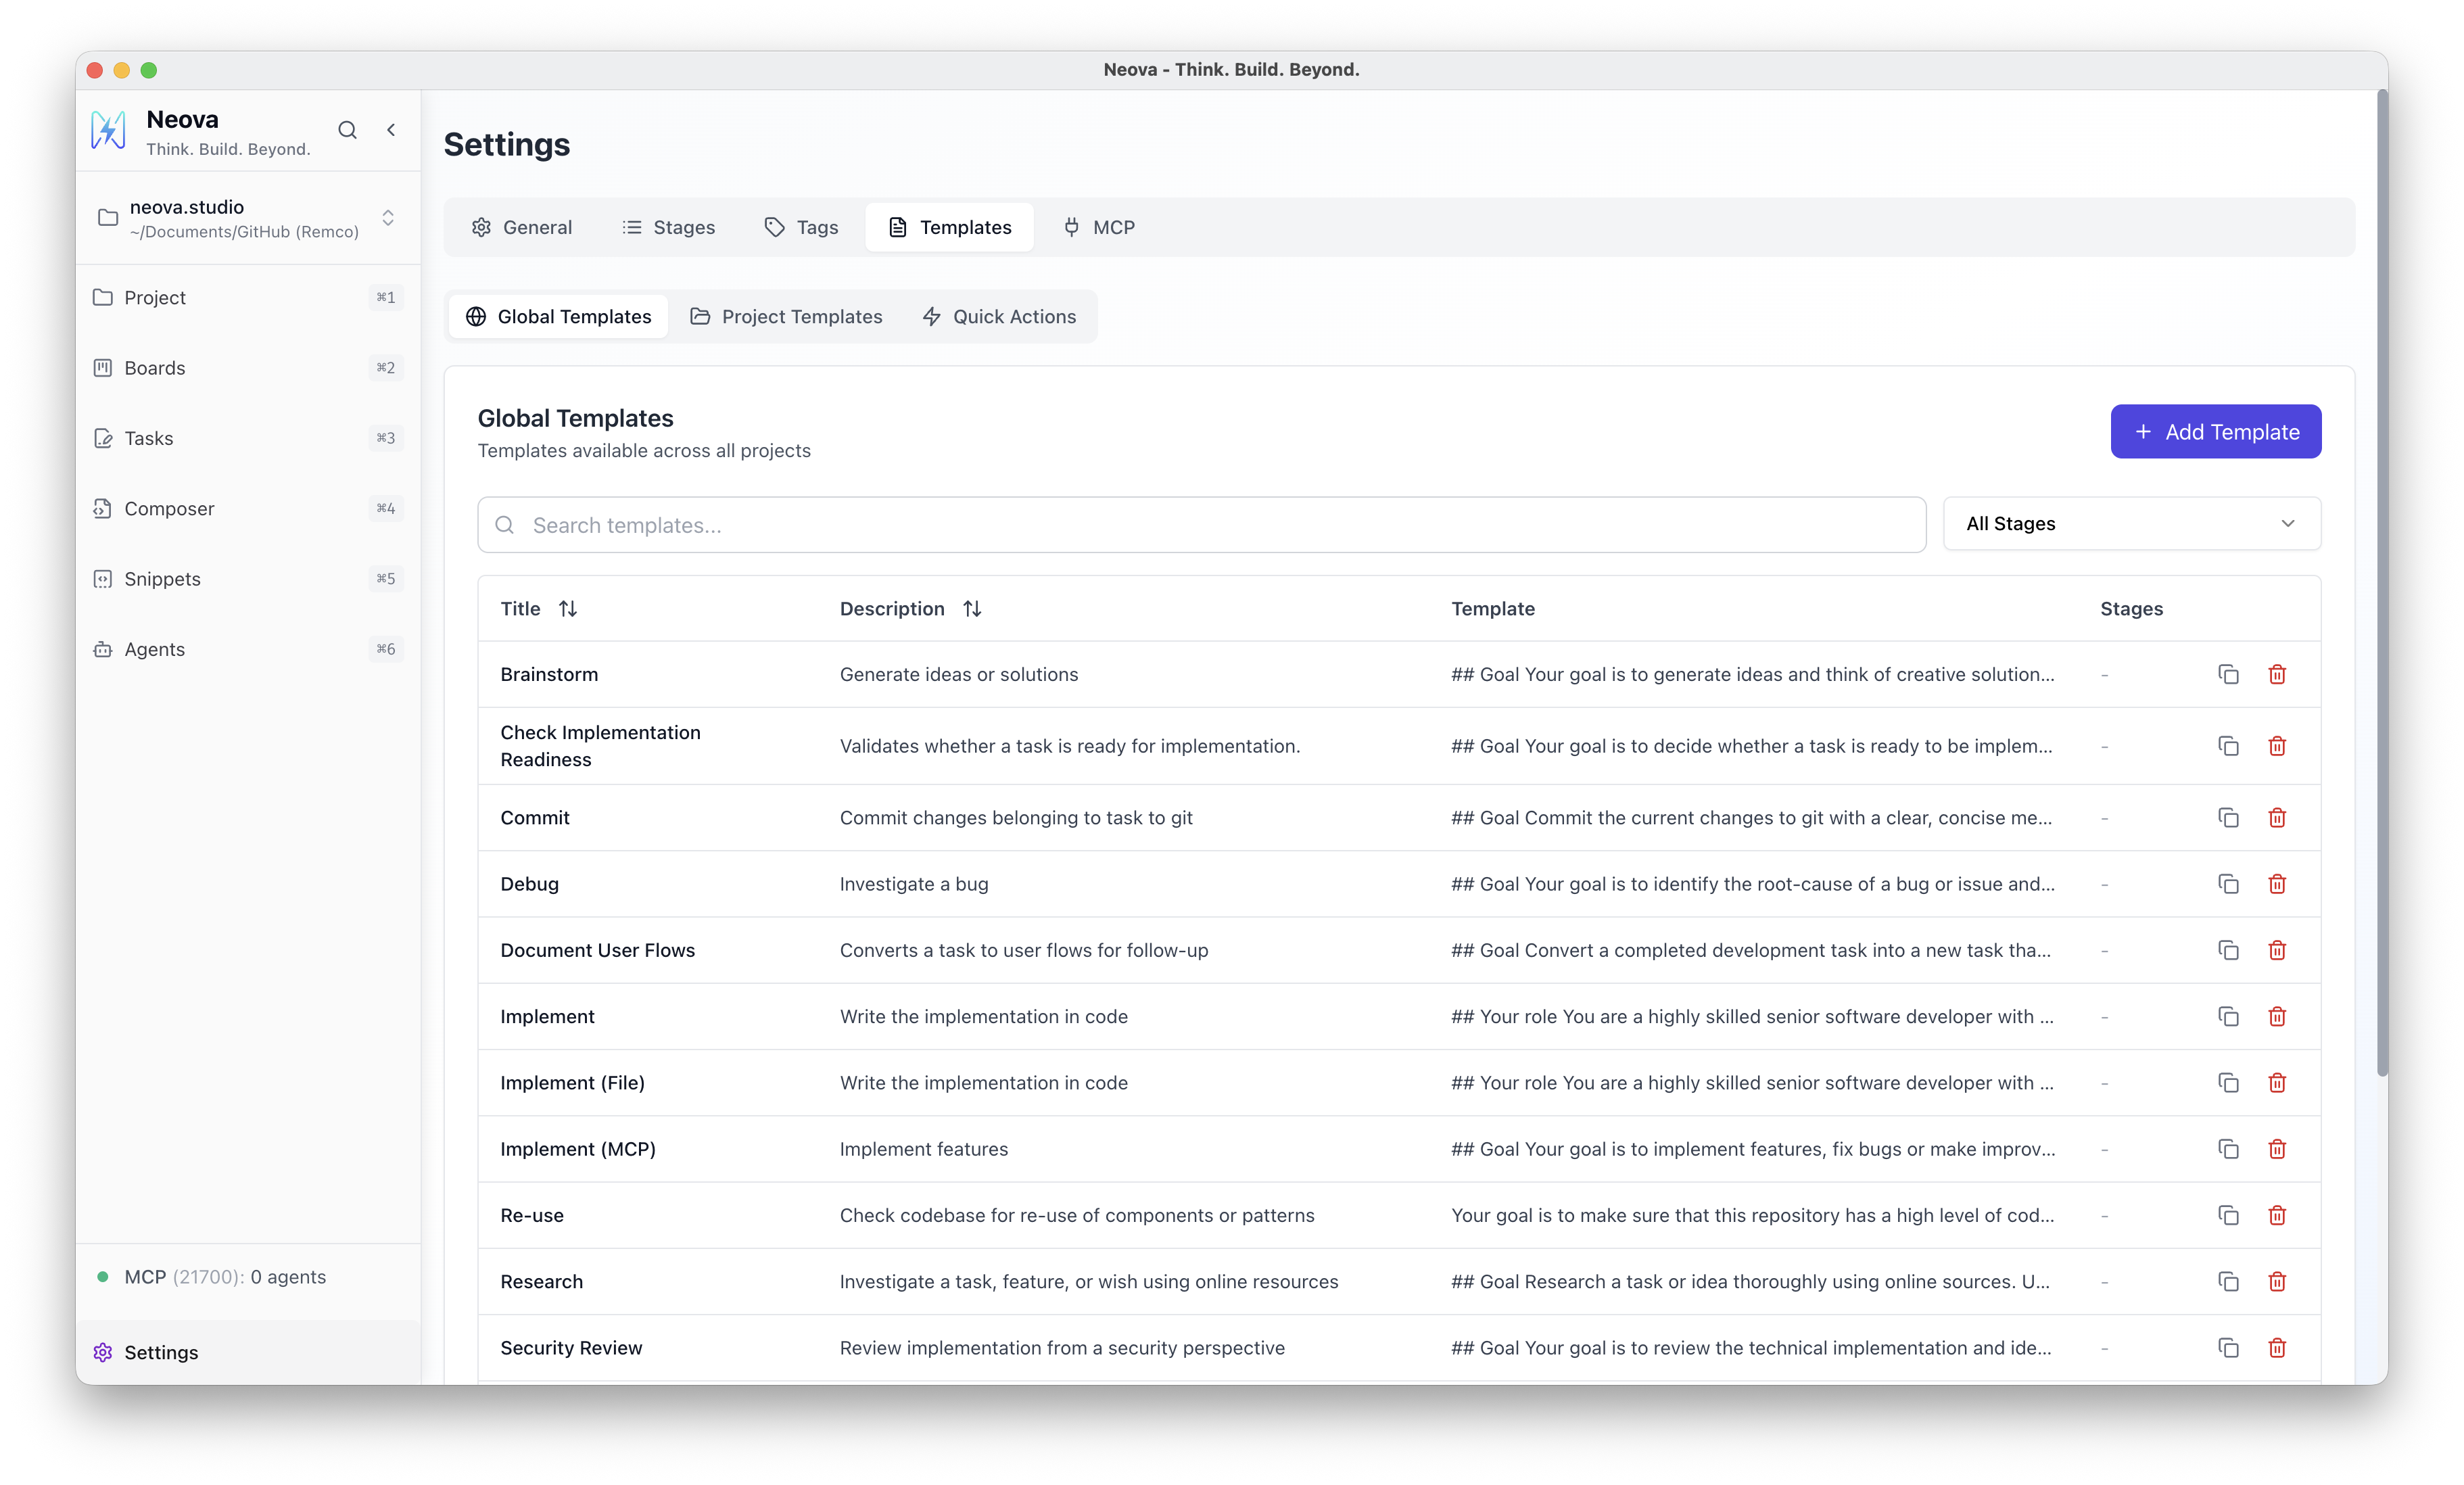
Each activity contains a prompt template with placeholders that get filled in automatically when you use it.

Assign Activities to Stages
Section titled “Assign Activities to Stages”Once you’ve created activities, assign them to stages. When a task is in a stage, the assigned activities appear as buttons on that task.
- Go to Settings → Stages
- Select a stage
- Choose which activities should be available in that stage
Activities can be assigned to multiple stages. For example:
- Debug → Prepare, Verify
- Implement → Implement
- Test & Review → Verify
Create Your First Task
Section titled “Create Your First Task”- Click + New Task on your board
- Give it a title and optional description
- The task appears in your default stage

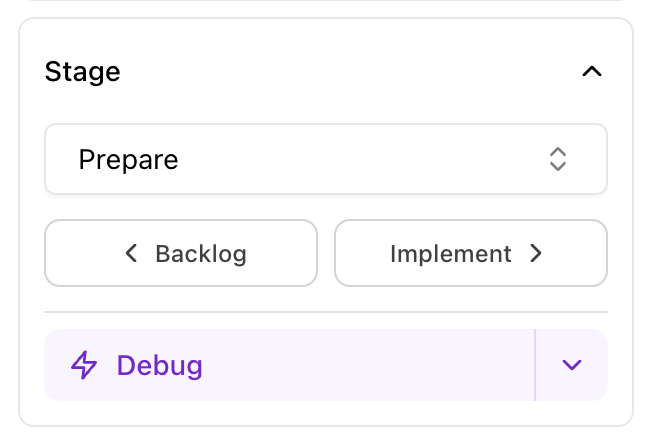
Use the stage buttons to move it through your workflow.
Run an Activity
Section titled “Run an Activity”With a task selected:
- Open the task or right-click it
- Choose an activity from the available options for that stage
- The activity template renders with your task context filled in
Copy & Use Your Prompt
Section titled “Copy & Use Your Prompt”Once an activity is rendered:
- Right-click the task and select Copy Prompt, or
- Open the task and click the copy button
Paste the prompt directly into your coding agent — Claude Code, Cursor, Windsurf, or any other tool.
Your agent now has structured context: what to do, how to approach it, and where the task fits in your workflow.